
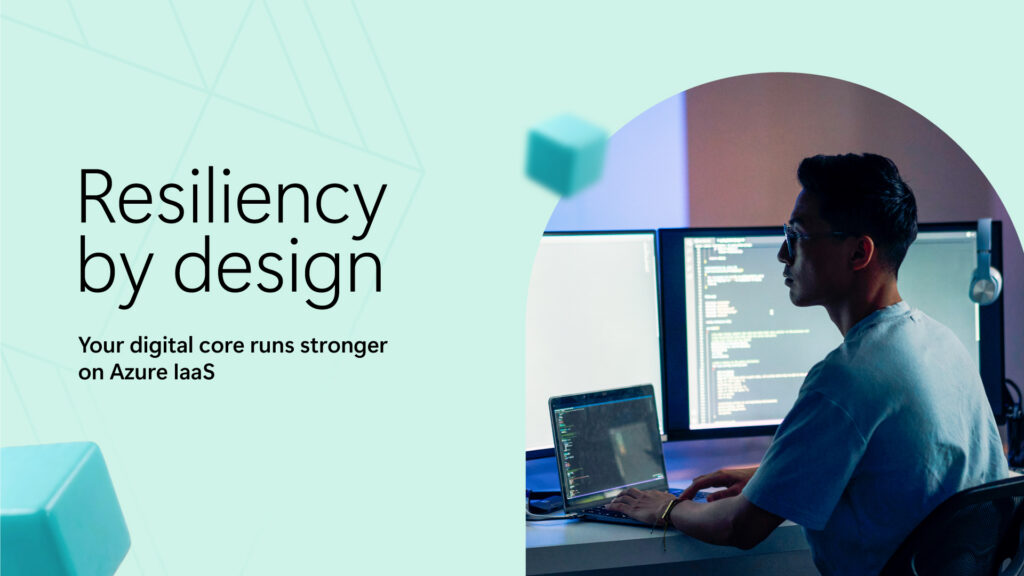
Azure IaaS: Keep critical applications running with built-in resiliency at scale
Azure IaaS provides foundational capabilities across compute, storage, and networking to help organizations stay resilient.
Azure IaaS provides foundational capabilities across compute, storage, and networking to help organizations stay resilient.
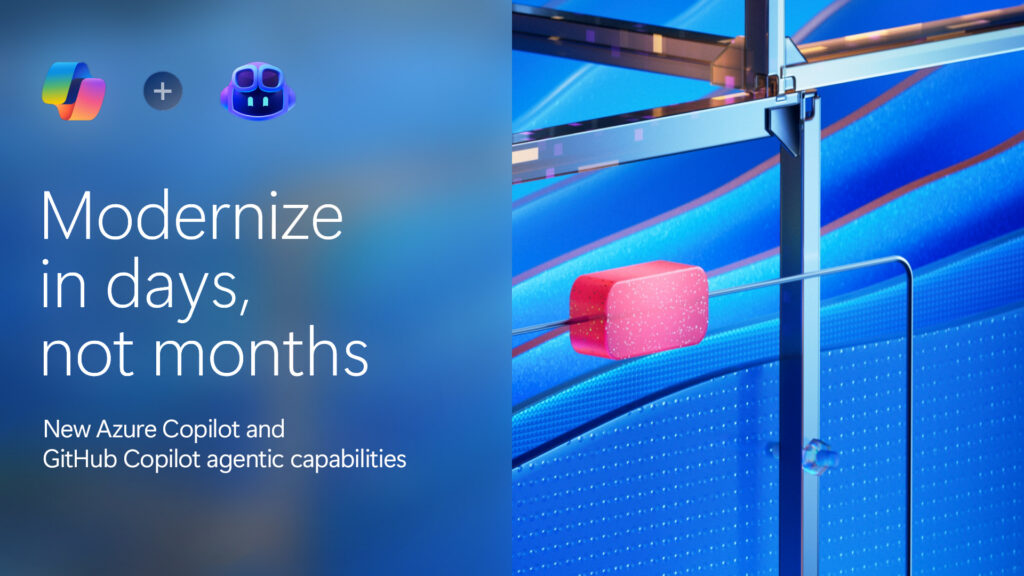
We’re announcing the first agentic end-to-end modernization solution that brings IT and developers into a single, connected workflow.

Modern cloud systems are expected to deliver more than uptime. Customers expect consistent performance, the ability to withstand disruption, and confidence that recovery is predictable and intentional.

While today’s cloud delivers extraordinary flexibility, the rapid growth of modern applications and AI workloads has introduced levels of scale and complexity that traditional operations were not designed for.

From GitHub Copilot AI assistance to built-in model management, Azure is helping devs and enterprises unlock the full potential of PostgreSQL.

Microsoft is honored to be named a Leader in the 2025–2026 IDC MarketScape for Unified AI Governance Platforms, highlighting our commitment to making AI innovation safe, responsible, and enterprise-ready.

Organizations leading in AI make it foundational. They rethink processes and integrate new technologies from the start to improve efficiency.
Learn about the new AI features and products In Azure announced at Microsoft Ignite 2025 to help modernize your cloud infrastructure.
This week at Microsoft Ignite 2025, Azure introduces solutions that address your technology strategy questions with innovations designed for this very inflection point.
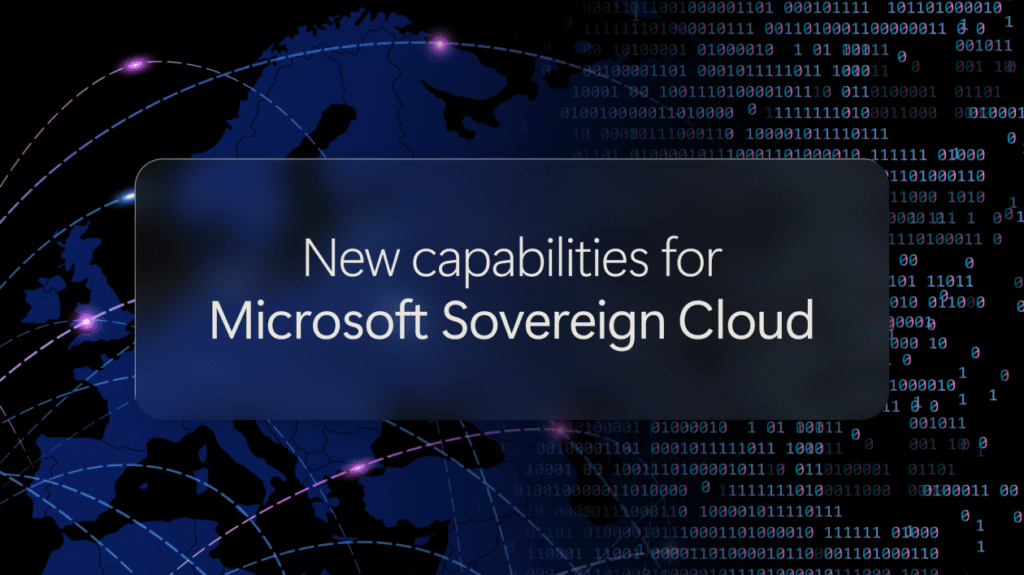
We continue to adapt our sovereignty approach—innovating to meet customer needs and regulatory requirements within our Sovereign Public Cloud and Sovereign Private Cloud.

Empowering organizations to shape the future of cloud with resilient, always-on solutions.

We’re proud that Microsoft has once again been named a Leader in the 2025 Gartner® Magic Quadrant™ for Distributed Hybrid Infrastructure.