
With our latest Microsoft Azure release, we introduced a brand new tier of Virtual Machine sizes called “Basic”. This Basic tier of Virtual Machine sizes have similar configurations to their Standard counterparts with up to 27% lower prices and do not include Azure load-balancer and Auto-Scaling. These sizes are globally available in every datacenter except in China.
We envision these sizes to be ideal for dev/test workloads, batch processing applications, production applications which do not require a load balancer, or applications where you would like to bring your own load-balancer. These sizes do still offer the full Azure Compute Availability SLA .
We want to give you as many Virtual Machine size options and configurations as possible. To meet your varying compute requirements we have offered Basic, with more coming in the future.
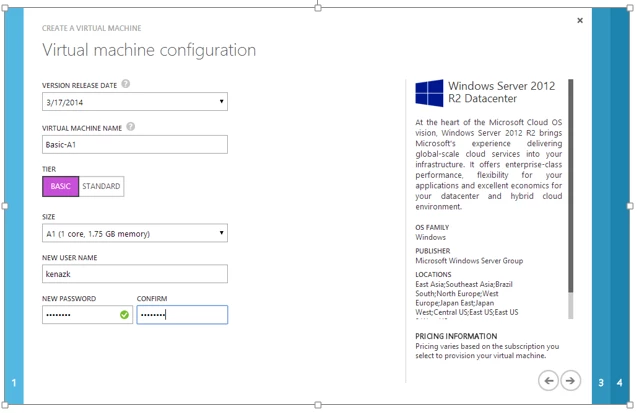
Creating a Basic VM
Basic VM creation follows the same workflow that you’re familiar with in the Azure Management Portal. This time, however, you’ll notice the option to select the “Basic” tier. This will allow you to select from one of the five Basic sizes. The rest of the process is exactly the same as a typical Standard Virtual Machine.
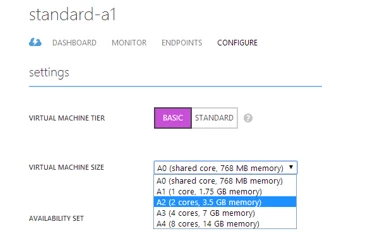
Switching between Standard and Basic
If you’d like to switch an existing Standard Virtual Machine to its equivalent Basic tier, it’s easy to do from the Configuration tab on your Virtual Machine dashboard. Select a different size and save your changes. Note that this will require a restart to your virtual machine.
Basic Tier High Availability
Just because the Basic tier does not provide an Azure load-balancer with the size, doesn’t mean you don’t get the same SLA as the Standard instances. You can still deploy these sizes into Availability Sets. Deploying two or more Virtual Machines in the same Availability Set offers the same benefit as standard instances, with availability across these instances showing 99.95% uptime. More details on the compute SLA can be found here.