你当前正在访问 Microsoft Azure Global Edition 技术文档网站。 如果需要访问由世纪互联运营的 Microsoft Azure 中国技术文档网站,请访问 https://docs.azure.cn。
创建 Defender EASM Azure 资源
本文介绍如何使用 Azure 门户创建 Microsoft Defender 外部攻击面管理 (Defender EASM) Azure 资源。 用户可以通过 30 天免费试用版开始使用 Defender EASM。 试用即将到期后,你将收到横幅和推送通知的通知。
创建 Defender EASM Azure 资源涉及两个步骤:
- 创建资源组。
- 在资源组中创建 Defender EASM 资源。
先决条件
在创建 Defender EASM 资源组之前,请熟悉如何访问和使用 Azure 门户。 另请参阅 Defender EASM 概述一文,了解产品的关键上下文。 需要:
- 有效的 Azure 订阅或免费的 Defender EASM 试用帐户。 如果还没有 Azure 订阅,可以在开始前创建一个免费 Azure 帐户。
- 为创建资源分配给你的参与者角色。 若要将此角色分配给你的帐户,请按照分配角色文档中的步骤进行操作。 或者,可以联系管理员。
创建资源组
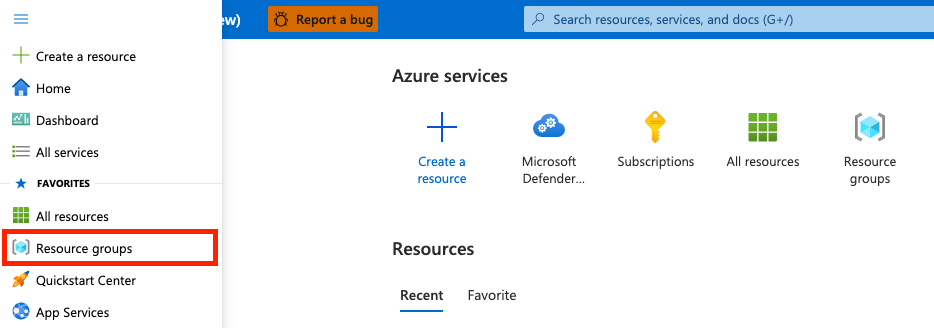
若要创建新资源组,请在 Azure 门户中选择“资源组”。
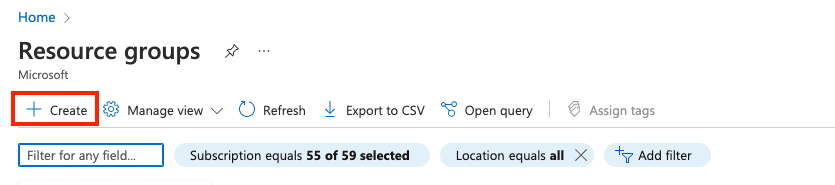
在“资源组”下,选择“创建”。
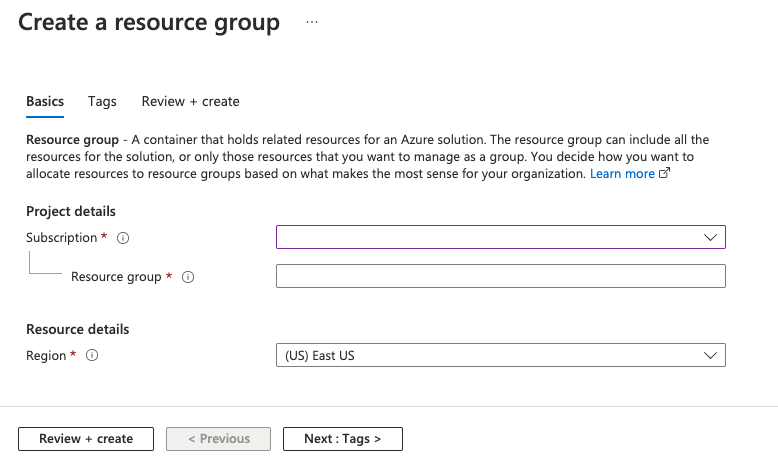
选择或输入以下属性值:
- 订阅:选择 Azure 订阅。
- 资源组:为资源组指定名称。
- 区域:指定 Azure 位置。 资源组在此位置存储有关资源的元数据。 出于合规目的,你可能需要指定该元数据的存储位置。 一般情况下,建议指定大部分资源所在的位置。 使用相同位置可简化模板。 支持以下区域:
- southcentralus
- eastus
- australiaeast
- westus3
- swedencentral
- eastasia
- japaneast
- westeurope
- northeurope
- switzerlandnorth
- canadacentral
- centralus
- norwayeast
- francecentral
选择“查看 + 创建”。
检查值,然后选择“创建”。
选择“刷新”以查看列表中的新资源组。
在资源组中创建资源
创建资源组后,可以通过在 Azure 门户内搜索 Defender EASM 来在组中创建 Defender EASM 资源。
在搜索框中,输入 Microsoft Defender EASM,然后按 Enter。
选择“创建”以创建 Defender EASM 资源。

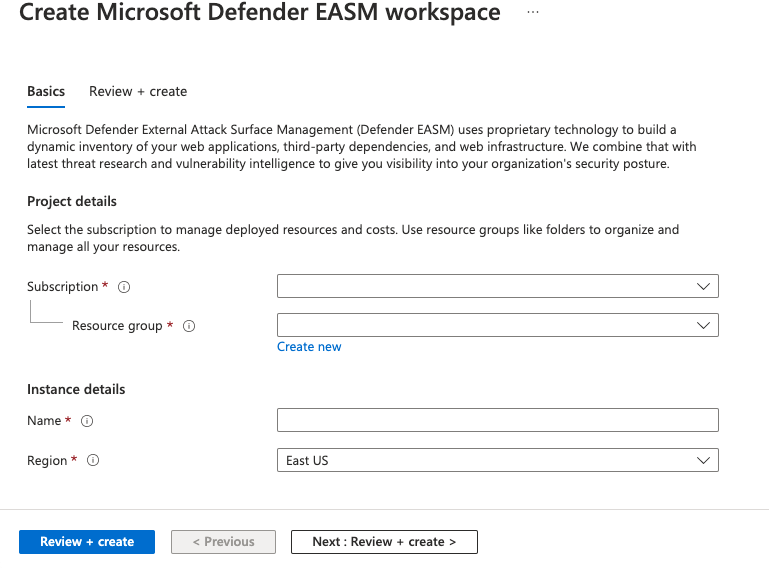
选择或输入以下属性值:
- 订阅:选择 Azure 订阅。
- 资源组:选择在上一步中创建的资源组。 你也可以在创建此资源的过程中新建一个。
- 名称:为 Defender EASM 工作区命名。
- 区域:选择一个 Azure 位置。 请参阅上一部分中列出的支持区域。
选择“查看 + 创建”。
检查值,然后选择“创建”。
选择“刷新”以查看资源创建的状态。 现在可以转到资源以开始使用。